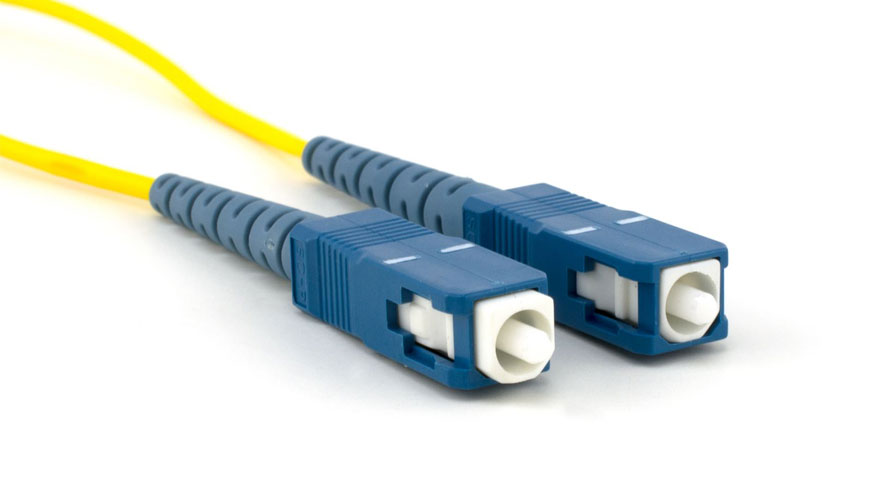

EUROLAB laboratory provides testing and compliance services within the scope of IEC 61300-3-15 standard. This part of the IEC 61300 standard describes the measurement of the dome eccentricity of a spherically polished ferrule end face according to an interference method. The apex eccentricity (X) is defined as the distance between the axis of the ferrule and the axis parallel to the axis through the apex or highest point on the dome created by spherically polishing the ferrule.

The eccentricity can be directly determined as the distance between the center of the fiber or fiber hole and the center of the interference ring. In this case, the eccentricity measurement will be affected by any misalignment of the measuring system, particularly the angular deviation between the ferrule axis and the interferometric axis. The measured dome eccentricity of angle polished ferrules is affected by other offsets caused by the tolerances of the switching position.
The alignment of the measuring system must be strictly checked and adjusted. In the method used, errors due to misalignment of the measuring system can be reduced by rotating the thimble around its axis and observing the maximum displacement of the center of the interference rings. The dome eccentricity is half the maximum displacement.
This method uses an interferometer and a microscope with a camera. Interference is created between the reference beam and the beam reflected from the ferrule face, and the interference ring is observed. The thimble is rotated around its axis. A displacement of the center of the interference ring is observed. Eccentricity is determined as half the maximum displacement.
The interference method requires the following materials:
For the measurement of angled polished ferrules, the ferrule cannot rotate around its own axis and must be replaced with a guaranteed calibration of the alignment system prior to measurement. The alignment system is then rotated to compensate for the nominal polishing angle.
EUROLAB, with its more than 25 years of experience, state-of-the-art accredited laboratories and expert team, helps you get precise and fast results. Do not hesitate to contact our laboratory for your testing and certification requests.
To get an appointment, to get more detailed information or to request an evaluation, you can ask us to fill in our form and reach you.