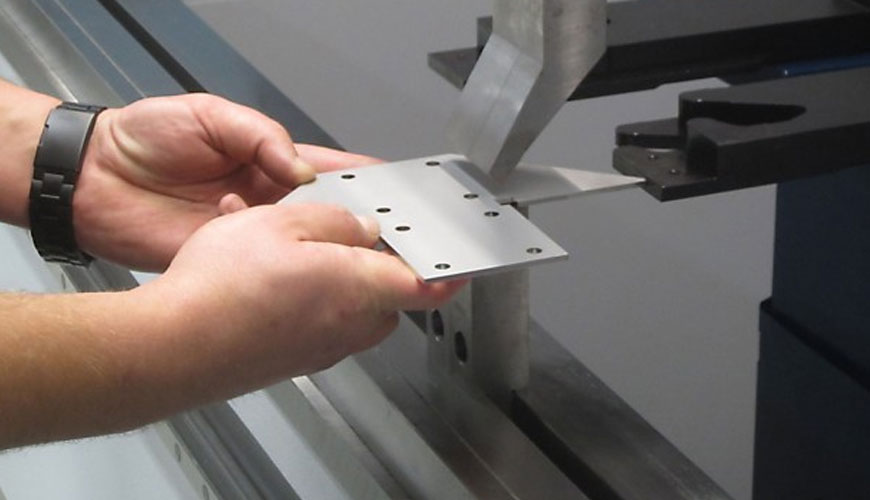

EUROLAB, with its state-of-the-art accredited laboratories and expert team, provides precise and fast testing services within the scope of EN 22768-1 testing. This section aims to simplify drawing indications and specifies general tolerances in four tolerance classes. It applies to the dimensions of workpieces produced by metal removal or formed from sheet metal. It includes three tables and an informative appendix on the concepts behind the general tolerance of dimensions.

This part of EN 22768 applies only to the following dimensions without individual tolerance indication:
Not applicable for the following sizes:
Relevant customary workshop accuracy should be taken into account when selecting the tolerance class. If smaller tolerances are required or if larger tolerances are allowed and more economical for any individual specification, such tolerances should be specified next to the respective nominal dimensions.
General tolerances specified in angular units only control the general orientation of line elements of lines or surfaces, not shape deviations. The general orientation of the line derived from the real surface is the orientation of the contact line of the ideal geometric form. The maximum distance between the contact line and the actual line will be the lowest possible value.
EUROLAB assists manufacturers with EN 22768-1 test compliance. Our test experts, with their professional working mission and principles, provide you, our manufacturers and suppliers, the best service and controlled testing process in our laboratories. Thanks to these services, businesses receive more effective, high-performance and quality testing services and provide safe, fast and uninterrupted service to their customers.
To get an appointment, to get more detailed information or to request an evaluation, you can ask us to fill in our form and reach you.